
Lank Rigg - Lake District Walk
Wednesday 21st March 2007
The day started of with clear skies and as the wind had dropped it was noticeably warmer. As the high tops remained covered in snow and ice we opted to head out to Lank Rigg, a new area for us. With warm weather and tired legs this was a very slow walk that involved plenty of breaks in the sun.
Start: Coldfell Road (NY 0662 1305)
Route: Coldfell Road - Blakeley Raise (160) - Grike (161) - Crag Fell (162) - Whoap (163) - Lank Rigg (164) - Kinniside (165) - Latter Barrow (166) - Coldfell Road
Distance: 8.75 miles Ascent: 679 metres Time Taken: 7 hrs 20 mins
Weather: Warm, blue sky and light winds.
Pub Visited: Kirkstile Inn Ale Drunk: Loweswater Brewery, Grasmoor Dark Ale
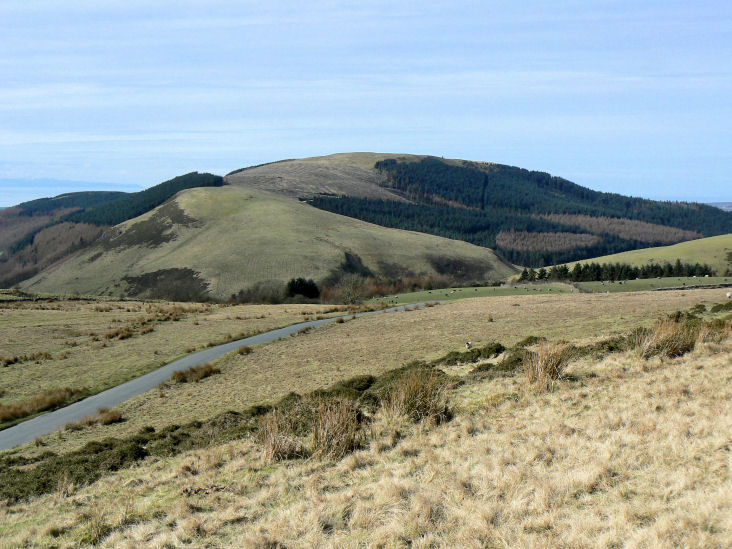
Looking across to Flat Fell as we start to climb up Blakeley Raise.
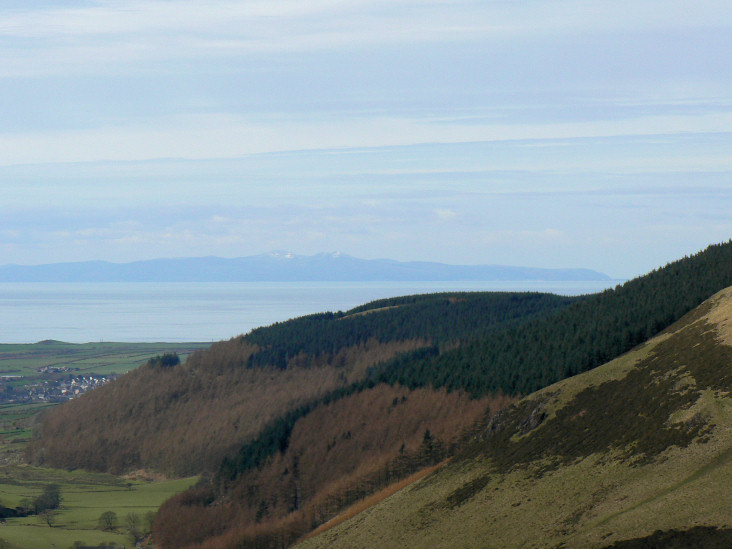
Further up the, by now familiar, Isle of Man is visible.
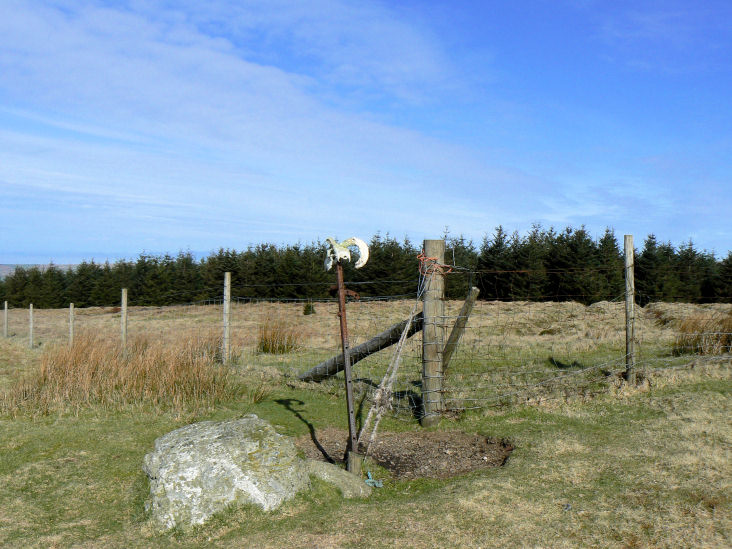
Blakeley Raise's summit.
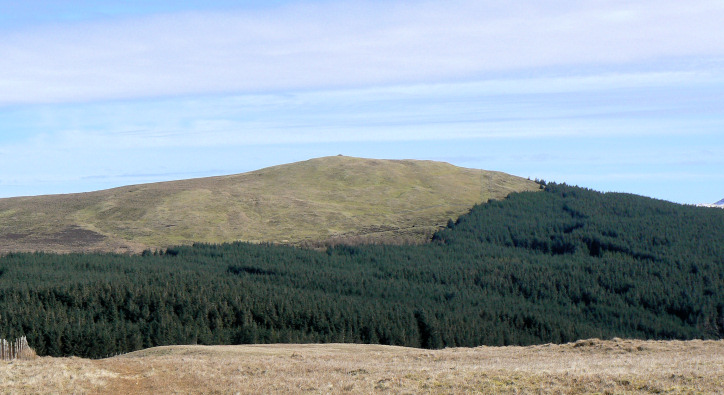
Looking across to Grike from Blakeley Raise.
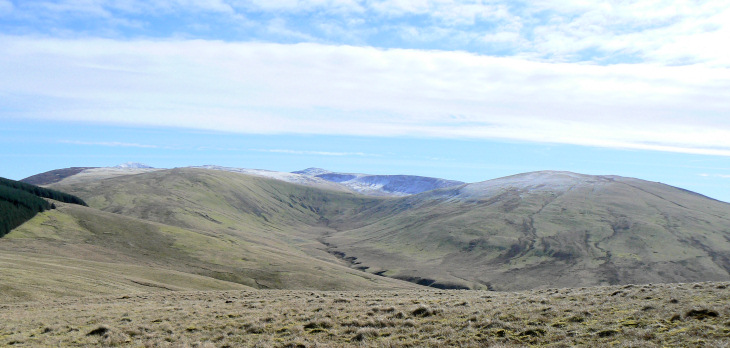
Whoap (L) and Lank Rigg (R) with Caw Fell in the background.
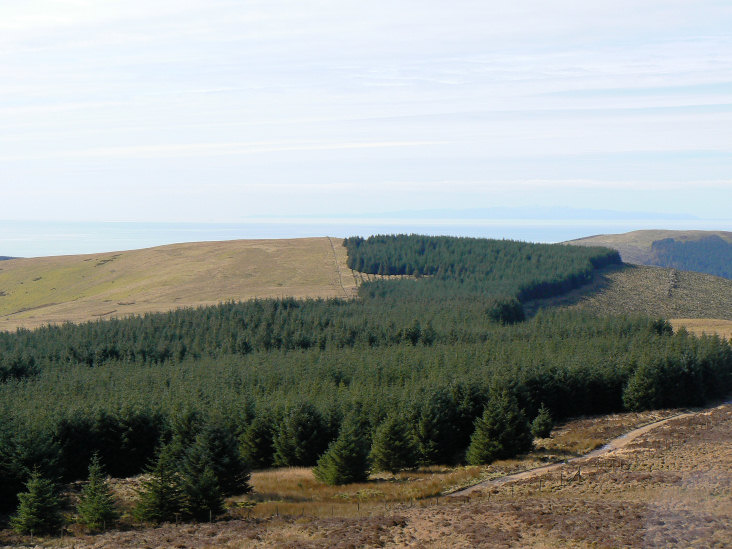
Blakeley Raise from the start of the climb to Grike.
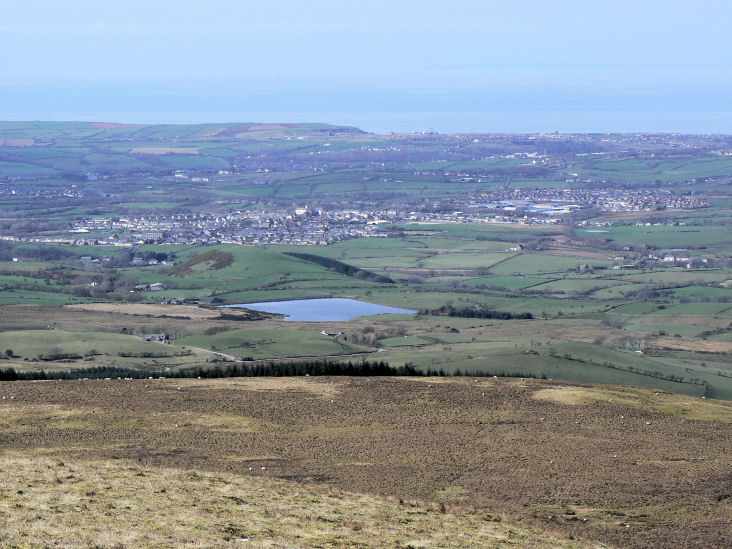
Meadley Reservoir.
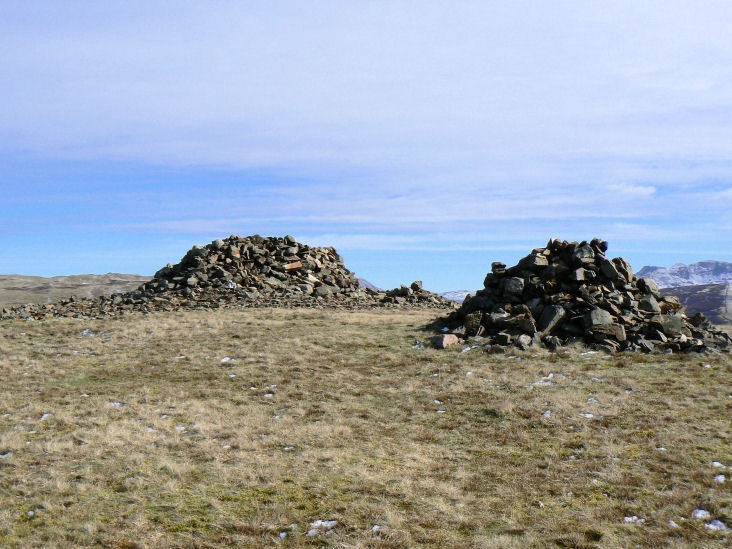
Grike's summit cairn and shelter where we took one of today's many leisurely breaks in the warm sunshine.
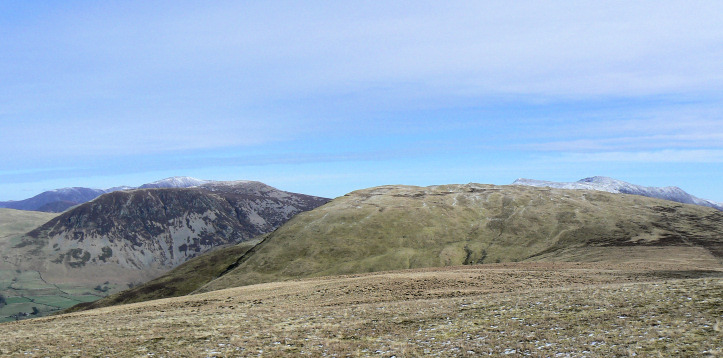
Crag Fell with Red Pike & High Stile visible behind it. To the left is Herdus.
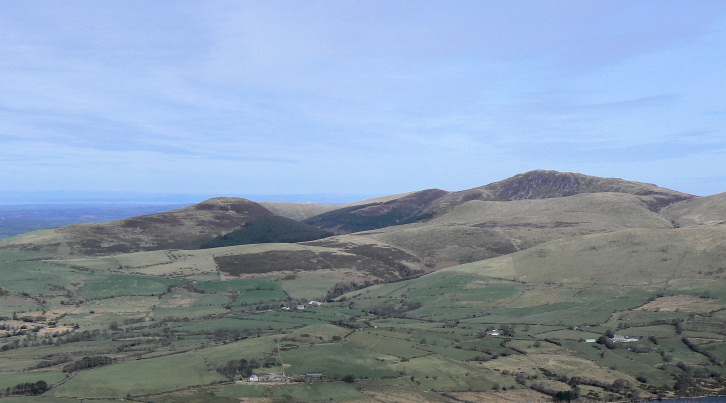
Knock Murton (L) and Blake Fell (R).
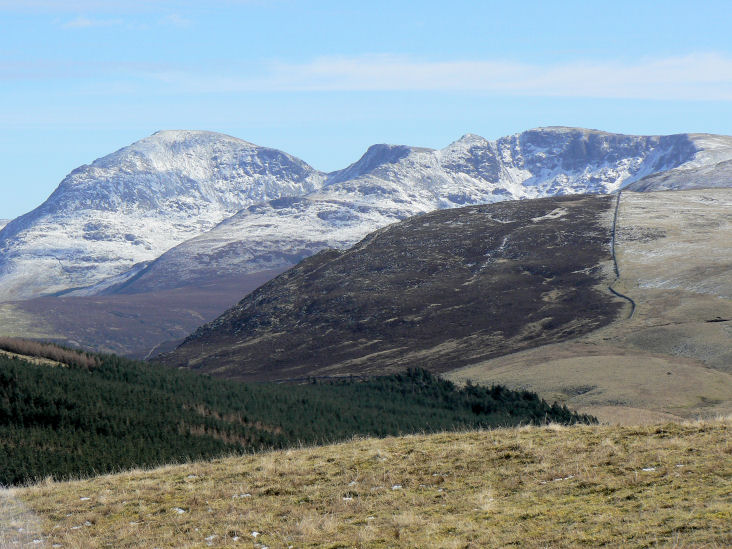
L - R: Pillar, Wind Cove, Black Crag, Steeple and Scoat Fell.
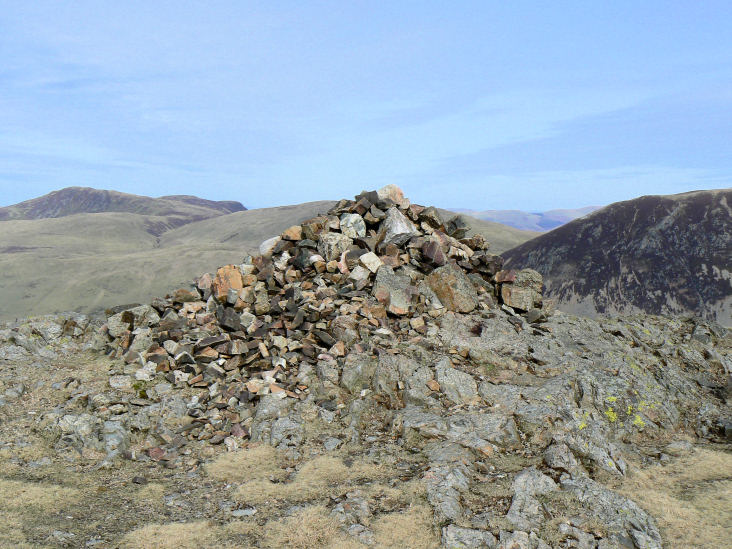
Crag Fell's summit cairn.
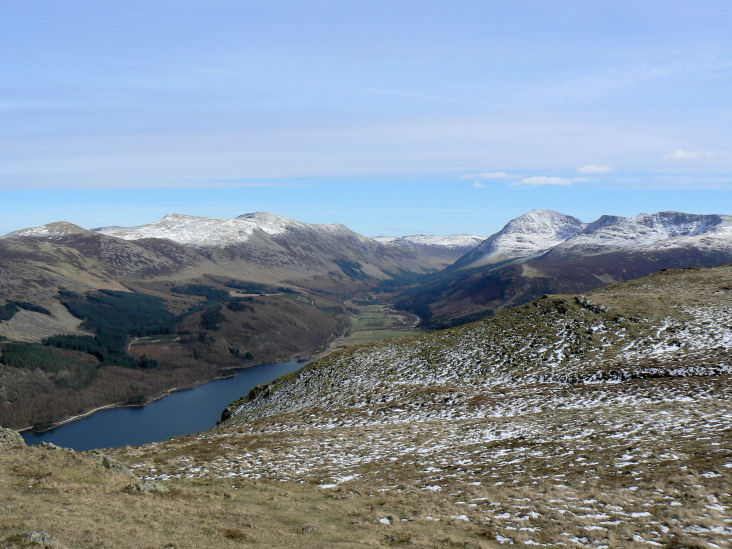
Ennerdale from Crag Fell.
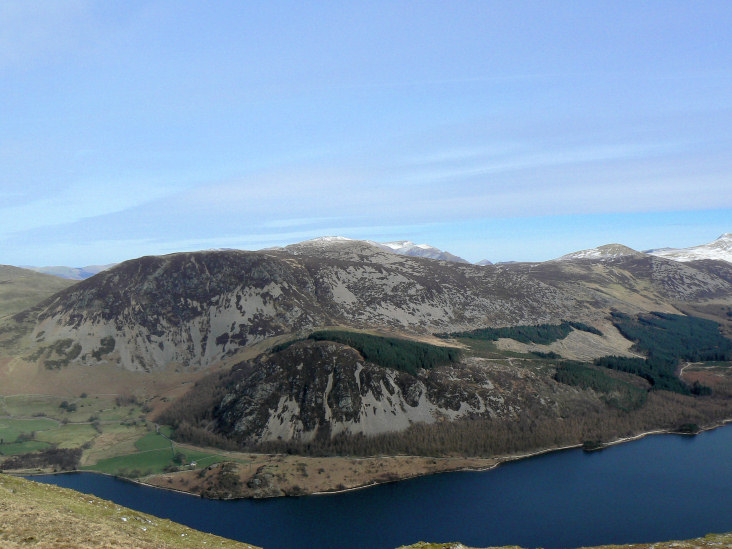
Herdus and Starling Dodd with Bowness Knott in front.
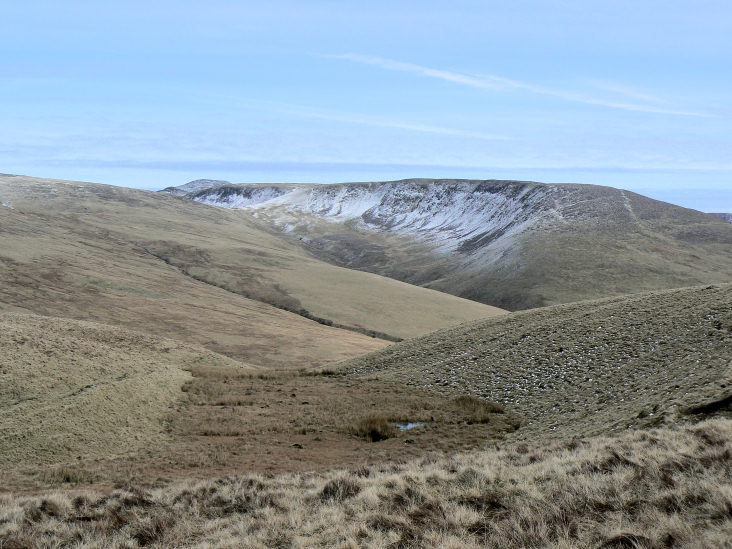
Caw Fell.
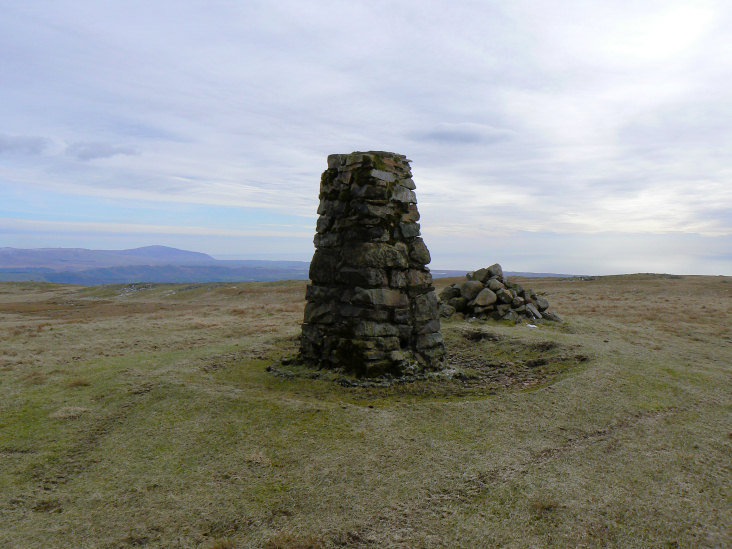
Lank Rigg's trig.
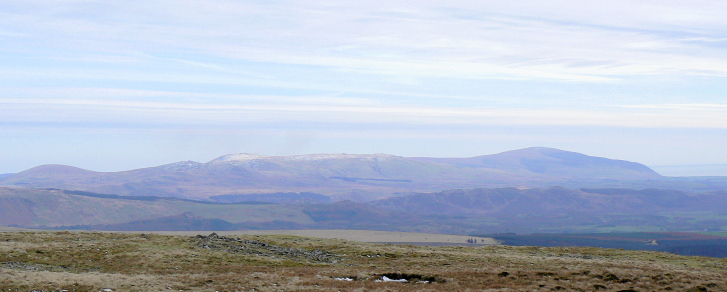
Looking across to Black Combe from Lank Rigg.
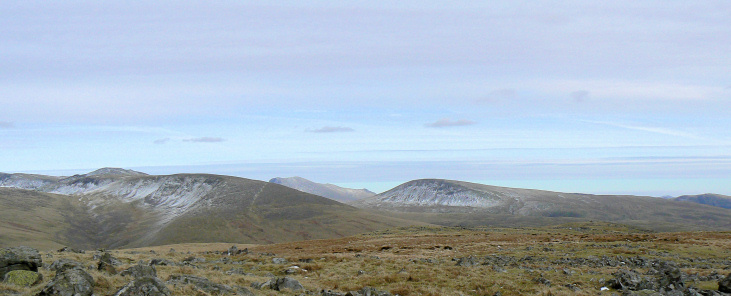
Caw Fell and Seatallan with Scafell between them.
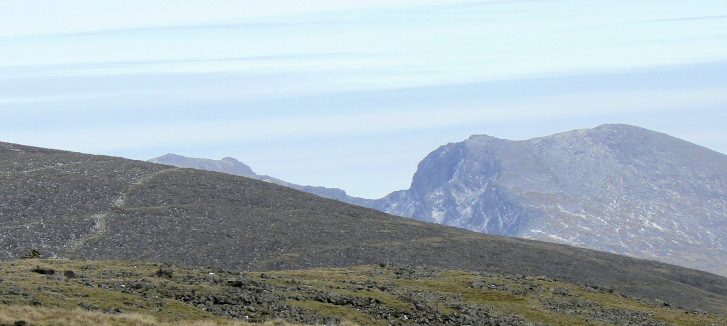
As we started to descend Lank Rigg Scafell Pike came into view.
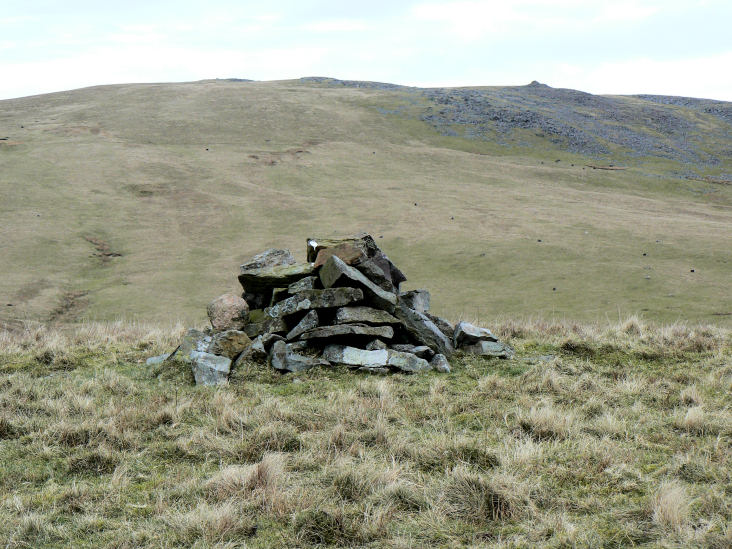
Kinniside's summit cairn with Lank Rigg behind.
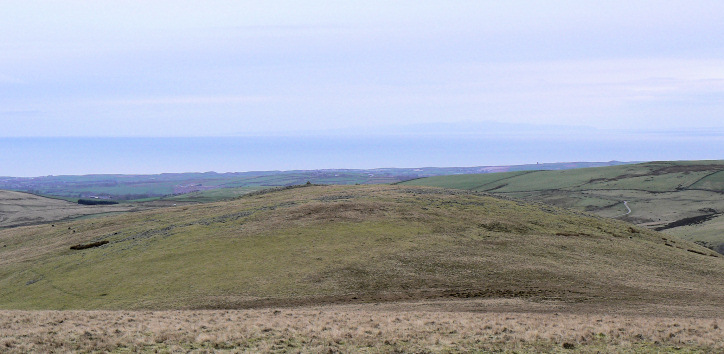
Looking across to Latter Barrow from Kinniside.
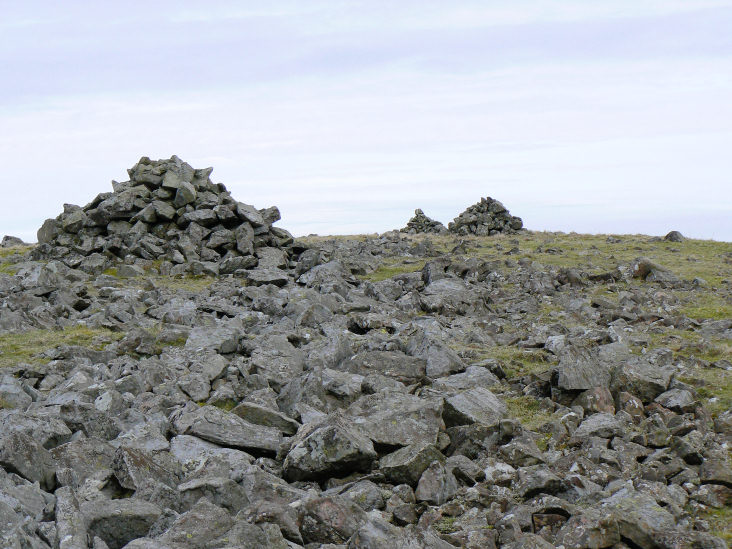
Latter Barrow's three summit cairns.
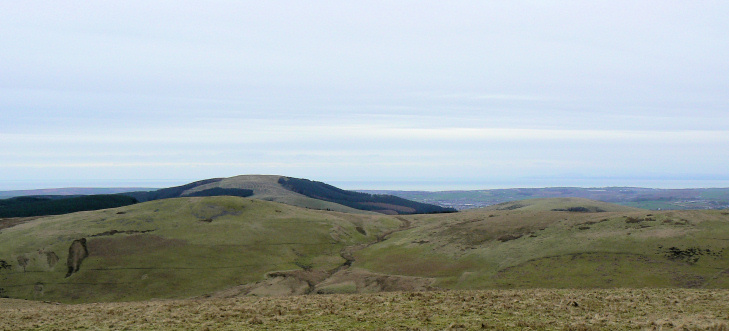
What should have been the last two summits of the day, Swarth Fell (L) and Burn Edge (R). To get to these we had to cross the River Calder which with all the snow coming of the hills was rather deep and wide. It took an hour to find a point where I could cross, by which point we were so far upstream that we had long since walked past both hills. They remain to be done another day, from the road.
All pictures copyright © Peak Walker 2006-2023